Transferring data from your Wii to your Wii U is a step you do after setup, again a poor choice of timing because they force you to create a new Mii from scratch before you have a chance to port your old Mii over from your Wii. I just set up a dummy player which I later deleted, knowing that I’d be able to use good ol’ Stii-Wii later down the road.
During the conversion process from the Wii to the Wii U, a LOT of data gets transferred, including your Miis, saved game data, downloaded software, and Wii points. I’m not sure if it’s for technical or security reasons or both, but Nintendo is VERY careful about making sure that data is transferred from the Wii to an SD card (and subsequently erasing all the data from the Wii), and then transferred from the SD card to the Wii U (again, deleting all data from the SD card). The most important thing to remember before starting the update process is to make SURE you don’t accidentally kick the power cord or otherwise interrupt the process, or you may lose all your data.
The process is pretty painful and time-consuming, but the results are pretty good.
You need to start by making sure both your Wii U and Wii are plugged in, connected to the Internet. The process is convoluted enough to begin with, but if you’re sharing a single Wii remote or video connection between both machines, the process will be nearly unbearable. For me, I made things a little easier on myself by plugging the Wii U into the HDMI port of my TV, plugging the Wii into the component (YPbPr) port of a monitor, and viewing both screens using two TV screens (you can also use Picture-By-Picture mode on your TV).
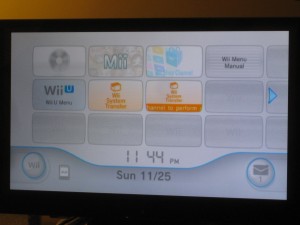
You start out by going to the Wii menu on your Wii U (you’ll need your Wii remote for this), and then clicking the “Wii System Transfer” icon. You’d think that this would start the process of transferring your system data, but no–it takes you to the Wii Shop Channel where you download the Wii System Transfer Channel. Seems like it’s adding some unnecessary steps, but okay.
After installing the channel you’ll see the real icon to start the process. You’ll need an SD card that has at least 512 MB on it to get started.
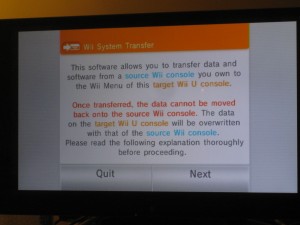
Once you start up the channel you’ll see a welcome message.
There are three steps to completing the transfer, which you can read about on your TV screen. They are:
Step 1: Prepare the Wii U console.
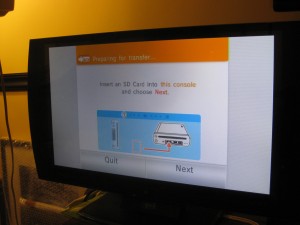
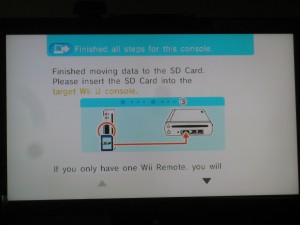
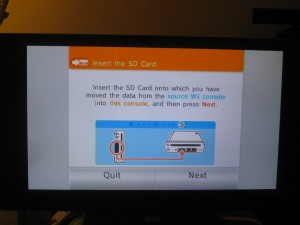
The first step is taking your SD card and putting it into the Wii U. Data used to prepare for the transfer is written to the SD card in the Wii U. Once it’s done you’ll see this message. Pop the SD card out of the Wii U and set it aside.
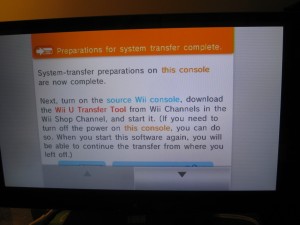
Step 2: Transfer from the Wii console.
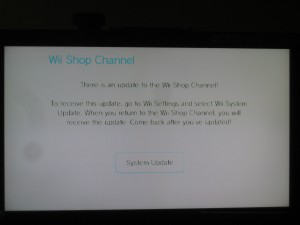
Next, you’ll go to your old Wii. You have to go to the Wii Shop Channel on your Wii to download the Wii System Transfer Channel there. Annoyingly, I was first prompted to perform a Wii System Update to update the Wii Shop Channel.
By this time it was about 1 AM and I was tired. Thanks Nintendo.
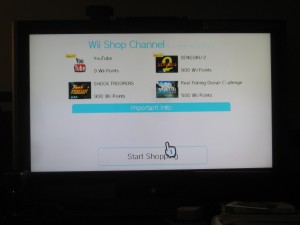
Once the update is complete you have to select Wii Shop Channel and once in click “Start Shopping”.
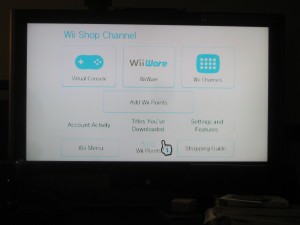
On the main screen, you need to select “Wii Channels”
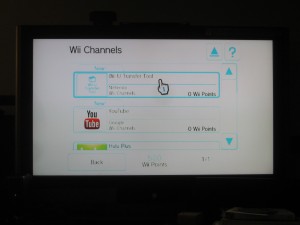
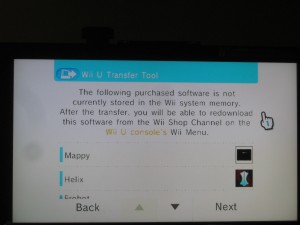
And the finally, select Wii U Transfer Tool.
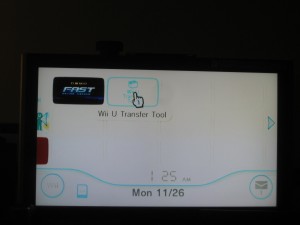
Install it, and then go back to the Wii menu. At this point, you need to select the new Wii U Transfer Tool from the top menu (It may be on the second page or later depending on how many channels you already have)
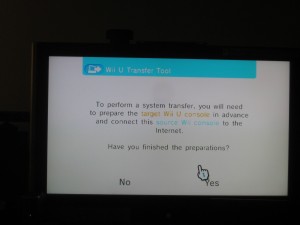
You’re asked if you’ve finished the preparations on the Wii U.
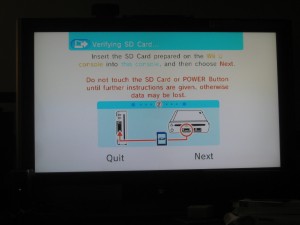
It’ll then connect to the Internet to verify that you can do the transfer, and then FINALLY get to a screen asking you to insert the SD card from the Wii U.
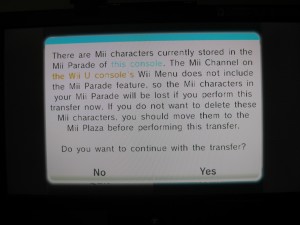
There was a confusing message about Miis that kind of freaked me out.
When I first read this, I thought it meant that all my Miis would be deleted, which was kind of the main reason I did this whole transfer in the first place. But after examining more closely, I realized that they meant that Miis stored in the Mii Channel under “Mii Parade” (basically a section of the Check Mii Out Channel that stores a lot of different Mii’s you download from online) would be deleted, while Mii’s stored under “Mii Plaza” (the main section of the Check Mii Out Channel (would be converted). If you’re not sure, cancel out of the process and double-check that all the Miis you want to transfer are in the Mii Plaza. Since Mii Parade was a short-lived and failed feature that few people used, chances are you’re not affected.
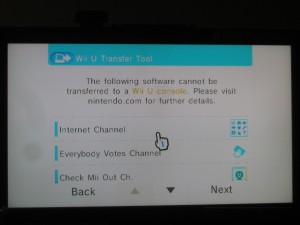
There may be more warning screens after this informing you which software cannot be transferred to the Wii U; in some cases updated versions of these Channels are available on the Wii U; in other cases the functionality is being deprecated.
If you have software stored on SD cards, those also will not be transferred to the Wii U, but the system will recognize and remember that you are eligible to re-download them for free from the Wii Shop Channel on the Wii U’s Wii menu (got that?). Any software stored in main system memory will be transferred over.
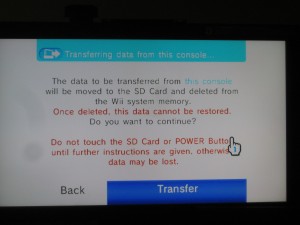
You’ll see more scary red letters and a big blue Transfer button. Push now or forever hold your peace.
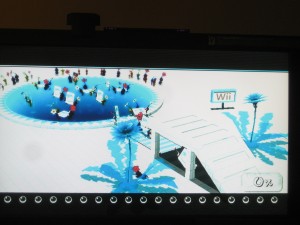
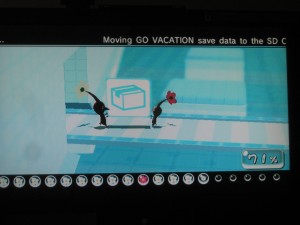
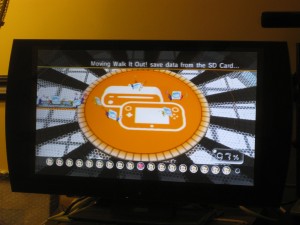
Next, you have to endure yet another update process that depending on the amount of data you have on your Wii may take upwards of another hour or more to finish. But this time Nintendo did something interesting–they have a mesmerizing animation of little Pikmin characters gathered around an icon of your Wii console.
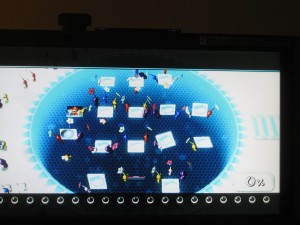
Then, the little Pikmins start collecting icons…
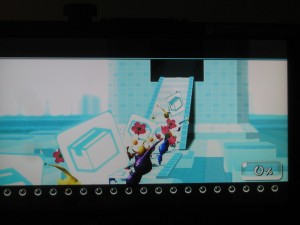
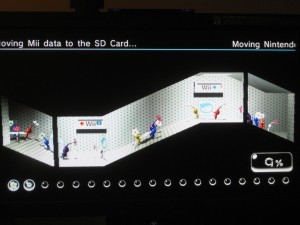
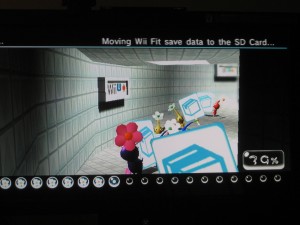
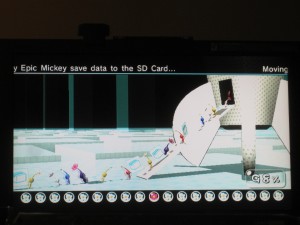
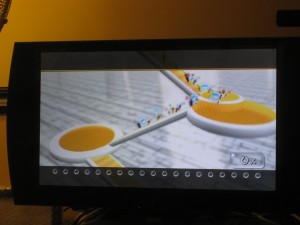
…and then start carrying them through winding paths that put me in the mind of the world of Tron. A percentage meter will appear in the lower right-hand corner, while status text will scroll on a marquee on top of the page telling you what’s being transferred.
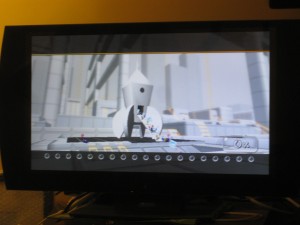
Finally, they all get to a rocket ship.
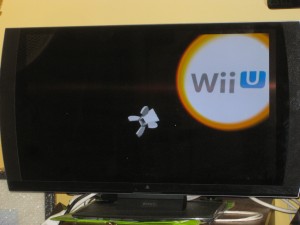
And then blast off towards a sun that says “Wii U”. At that point, you’re told how many Wii Points (if any) you had in your balance that have been transferred over, as well as that your Wii Shop Channel purchase history has been transferred along with a list of games you’re eligible to download on your Wii U.
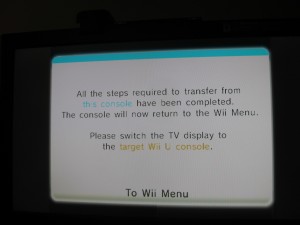
Finally, you’re told to take the SD card out and move it back to your Wii U.
Meanwhile, back on the Wii U, the message that’s been sitting your screen since you took the SD card out tells you to put it back in.
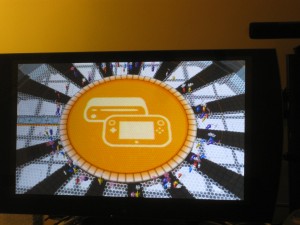
The animation continues from where it left off on the Wii, with your ship of Pikmins continuing towards the Wii U sun.
The Pikmins disembark and start carrying stuff to the Wii U.
They finally get to a large icon representing your Wii U and GamePad and start dropping their icons back.
And then they all celebrate.
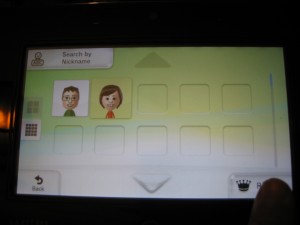
All your games, save data, and credits should be transferred over now. Note that there’s still a little work you need to do to get your Mii. You have to go back to the Mii Maker application and use the “Send Mii/Receive Mii” option to get the Mii available for you to register. Happily, I saw both Stii-Wii and Wiisa in their full glory on my Wii U.
Once this is done, go into User Account and either replace your already-created character’s Mii with your Mii, or create a new character.
While I applaud Nintendo for making this long (again, over an hour) process at least a little entertaining, I really would have liked to see a more friendly approach, such as the ability to do the transfer completely online instead of dealing with an SD card, or better yet, the ability to just turn on both systems connected to the Internet and have everything done for you while you sleep.
Sadly, on the Wii U Deluxe I encountered another issue that is being widely reported–the phenomenon of taking a long, long time for the system to go back to the Wii U Menu after being in another channel or game. At some points I was literally waiting five minutes while the GamePad screen appeared to be hung. This is a major, major flaw that I’m shocked that Nintendo allowed to go into the final production product, and if they don’t fix it soon, they’re going to deal with a whole lot of returns.
